

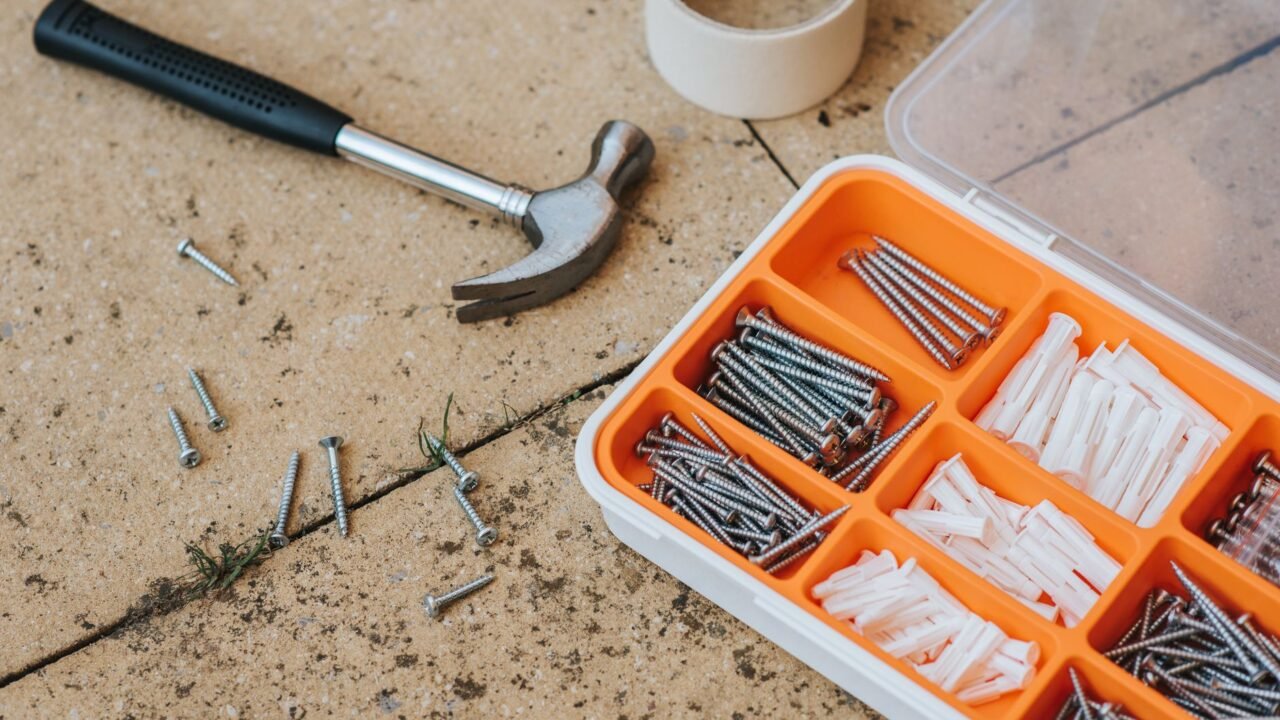
Not every home project requires a garage full of power tools. A number of genuinely useful DIY projects can be completed with tools most households already own, or with a small, inexpensive investment.
Painting a Room or Accent Wall
A paintbrush, roller, and painter’s tape are the only real requirements for this project, and the transformation it delivers is disproportionate to how little specialized equipment is involved. For a beginner ready to go one step further with basic carpentry, our board-and-batten accent wall project is a natural next project.
Installing Peel-and-Stick Backsplash Tile
Modern peel-and-stick tile options require nothing more than a utility knife and a tape measure, and they can update a kitchen or bathroom backsplash in an afternoon without any cutting tools beyond a basic blade.
Assembling and Anchoring Furniture
Most flat-pack furniture only requires the included hex key or a basic screwdriver set. Taking the extra step to anchor tall furniture like bookshelves and dressers to the wall, using the included anti-tip hardware, is a safety-focused project that requires only a drill, and it directly addresses the furniture and TV tip-over risks that the U.S. Consumer Product Safety Commission has long warned about.
Refreshing Grout and Caulk
A grout pen or basic caulk removal tool and a caulking gun are the only specialized items needed to refresh tired-looking grout lines and caulk seams in a bathroom or kitchen.
Building a No-Sew Curtain

Fabric, curtain rings with clips, and a pair of scissors are all that is needed to create simple, custom curtains without any sewing machine or stitching skills required at all.
Installing Removable Wallpaper
A smoothing tool, a utility knife, and a tape measure are the main requirements for removable wallpaper, which offers a much lower-commitment way to add pattern to a wall than traditional wallpaper or paint.
Upgrading Cabinet and Door Hardware
Swapping knobs, pulls, or hinges typically requires only a screwdriver, and it is one of the highest-impact, lowest-tool projects available for updating a dated kitchen or bathroom.
More Depth on a Few Key Projects
For the accent wall paint project, using painter’s tape and pressing its edge down firmly with a putty knife or credit card before painting prevents the paint bleed under the tape edge that is one of the most common frustrations for a first-time painter. Removing the tape while the final coat is still slightly tacky, rather than waiting until it is fully dry, generally produces a cleaner line than removing tape from fully cured paint.
For peel-and-stick backsplash tile, working from the center of the wall outward, rather than starting at one edge, keeps the overall pattern balanced even if a cut tile is needed at the far edges. Using a level line drawn lightly in pencil as a guide for the first row prevents the common mistake of the whole installation gradually drifting off-level as more tiles are added.
Building a First Small Tool Kit as You Go

Rather than purchasing an entire toolbox at once, buying just what the current project requires and building a collection project by project tends to result in a more useful, less redundant set of tools over time. A screwdriver set and a utility knife cover the earliest, simplest projects. A drill becomes worth the investment once anchoring furniture or hanging heavier items becomes a priority. A basic level rounds out the set for any project involving something mounted to a wall.
Common Beginner Mistakes
Rushing the preparation step is the most common mistake across nearly all of these projects: painting over a dirty or glossy wall, applying peel-and-stick tile to a surface that was not properly cleaned and dried, or attaching furniture anchoring hardware without confirming it hits a solid structural point behind the wall. Each of these preparation shortcuts tends to undermine an otherwise correctly executed project.
Underestimating drying and setting times is a second common issue shared across paint, adhesive-backed tile, and no-sew curtain projects, all of which benefit from patience during the parts of the process that are not visually exciting but are functionally important.
Finding Reliable Instructions for a New Project
Manufacturer instructions included with a specific product, a bracket kit, a peel-and-stick tile line, generally take priority over general advice, since materials vary enough between brands that a generic guide can miss a product-specific requirement. For projects without a specific product to reference, a well-reviewed video demonstration is often more useful than a written guide alone, since seeing the technique in motion clarifies steps like tape removal timing or adhesive application pressure that are harder to convey in text.
Involving Others in a First Project
A first do-it-yourself project often goes more smoothly with a second pair of hands, even for something as simple as holding a level steady while marking a wall or holding fabric taut while attaching curtain clips. Beyond the practical help, working through a first project with a friend or family member also makes it easier to catch mistakes early and troubleshoot together rather than getting stuck alone partway through.
Building Safe Habits Before Building Anything Else

Beginner DIY guides often focus entirely on technique and skip over the basic safety habits that experienced hobbyists follow automatically, which is a gap worth closing early rather than learning the hard way. Eye protection should go on before any cutting, sanding, or hammering starts, even for tasks that feel low-risk, since flying debris causes a large share of minor home workshop injuries and safety glasses cost only a few dollars. Reading the full instructions and safety warnings on any tool or material before first use, rather than skimming and jumping straight to the project, catches details like proper ventilation requirements for certain adhesives or paints that are easy to miss otherwise. A cluttered workspace is also a bigger safety risk than most beginners realize, since tripping over cords or stepping on stray hardware causes plenty of avoidable injuries that have nothing to do with the tools themselves.
It is also worth understanding which everyday household products and tools carry recall histories or known safety issues, since even common items are not automatically risk-free. Checking a tool or material against the recall database maintained by the U.S. Consumer Product Safety Commission takes only a minute and can flag a used or older tool that has a documented defect before it causes a problem. Beginners are especially encouraged to start with battery-powered tools rather than corded ones where a choice exists, since the risk of an accidental cut is generally lower, and to keep a basic first aid kit within reach of any workspace before starting a project rather than after something has already gone wrong.
Choosing Projects That Build Confidence Without Big Risk
For someone new to DIY projects, the order in which projects are attempted matters almost as much as the projects themselves, since an early failure on an overly ambitious project can discourage someone from continuing altogether, while a string of smaller successes builds both skill and confidence for tackling more complex work later. Starting with projects that have a forgiving margin for error, assembling furniture from clear instructions, painting a small piece of furniture, or installing simple shelving with pre-drilled hardware, allows a beginner to practice fundamental skills like measuring, using a level, and following sequential instructions without the stakes of a project that is difficult to reverse if something goes wrong.
It also helps to choose early projects using materials that are inexpensive to replace if a mistake happens, since the fear of ruining an expensive material often causes hesitation that leads to rushed, anxious work rather than careful, deliberate work. Practicing a new skill, such as cutting a straight line or driving a screw without stripping it, on inexpensive scrap material before applying that same skill to the actual project material removes much of the pressure and allows genuine skill-building without the risk of an expensive mistake on a first attempt at something new.
Learning From Mistakes Without Getting Discouraged
Every beginner DIYer eventually makes a mistake, a stripped screw, a crooked cut, a piece assembled backward, and how that moment is handled matters more for long-term skill development than avoiding mistakes altogether ever could. Treating a mistake as diagnostic information rather than a personal failure, asking specifically what led to the error and what would prevent it next time, turns a frustrating setback into a genuine learning moment. Keeping a small notebook or phone note of lessons learned from early projects, even brief one-line notes, builds a personalized reference that proves more useful over time than any general guide, since it reflects the specific mistakes a particular person tends to make and how they were actually solved.
Related Reading
- How to Build a Simple Floating Shelf in an Afternoon
- How to Refresh Old Furniture With a Weekend DIY Project
- A Simple DIY Accent Wall Project for Beginners
- Command Strip Hacks Gone Viral: What Actually Holds Up for Renters
- How Much Does a Weekend Home Improvement Project Actually Cost?
Frequently Asked Questions
Which of these projects is the best true starting point for a total beginner? Painting a single wall or swapping cabinet hardware are generally the most forgiving starting points, since mistakes are either easily corrected or very low-risk compared to some of the other projects on this list.
Is it worth buying cheaper tools when just starting out? For infrequently used tools, a reasonably priced basic version is often sufficient, but for tools that will see repeated use, a screwdriver set or a drill, spending slightly more for a durable, comfortable option tends to pay off in both usability and longevity.
How do I know when a project has moved beyond a beginner skill level? A good signal is whether a project involves plumbing, electrical work beyond a simple switch or cover plate, or structural changes; any of these are reasonable points to bring in a professional rather than continuing to problem-solve alone.
Start With Comfort, Not Equipment
The best first DIY project is usually the one that matches a household’s current tools and comfort level, not the one that seems most impressive. Building confidence with simple, low-tool projects makes it much easier to take on more involved projects later, if and when the interest is there.










1 Comment