

Furniture that has lost its appeal is not necessarily furniture that needs to be replaced. A weekend’s worth of focused effort can often bring an outdated or worn piece back to life at a fraction of the cost of buying something new.
Assess What Actually Needs Attention
Before starting, take a close look at whether the issue is cosmetic, finish, hardware, upholstery, or structural, loose joints, wobbly legs. Cosmetic issues are usually the easiest and fastest to address, while structural problems may need to be resolved first regardless of any planned cosmetic updates. Most of what a project like this requires is already covered in our list of practical tools every new homeowner should own.
Clean Thoroughly Before Doing Anything Else
A thorough cleaning often reveals that a piece looks better than expected once years of dust, grime, and old polish are removed. This step is easy to skip in the rush to start a project, but it can change the whole plan once the piece’s real condition is visible.
Painting Wood Furniture
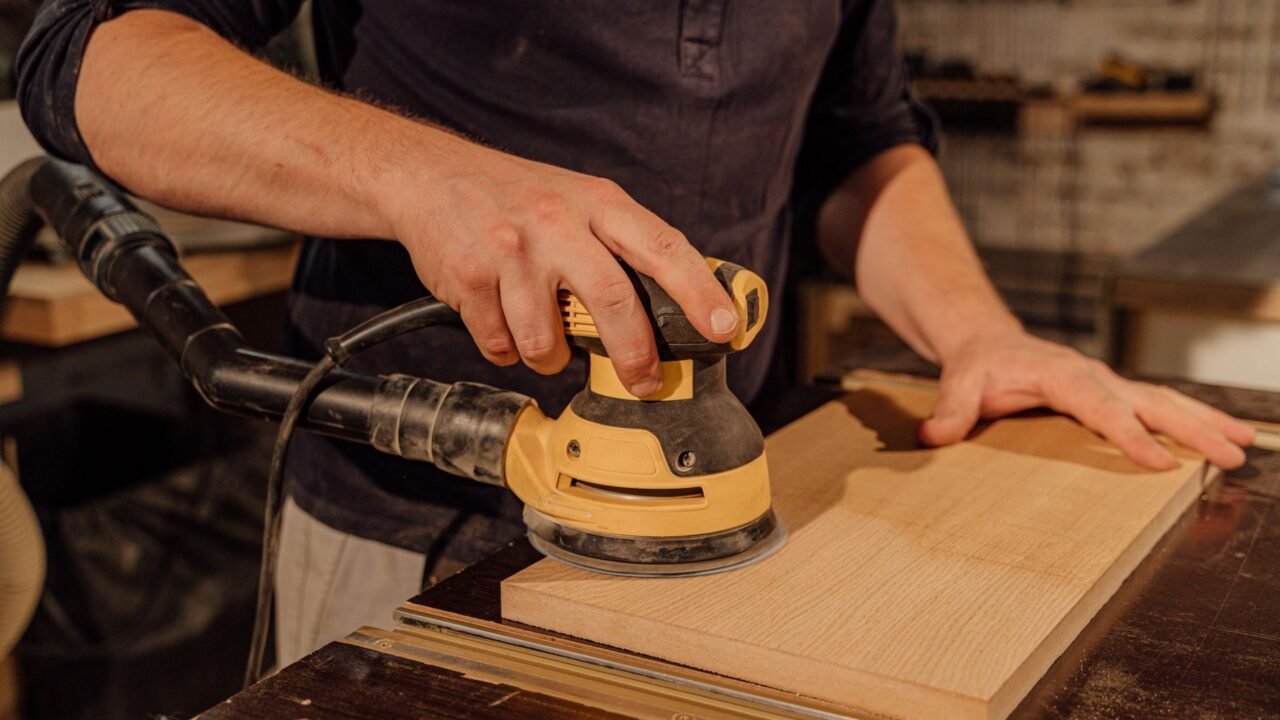
A light sanding to rough up the existing finish, a coat of primer suited to the surface, and two coats of furniture paint can completely transform a dated wood piece. Removing hardware before painting, rather than working around it, produces a noticeably cleaner result.
Refinishing Instead of Painting
For furniture with attractive wood grain worth preserving, stripping the old finish and applying a fresh stain and topcoat keeps the natural material visible while still addressing a worn or dated appearance.
Updating Upholstery Without Full Reupholstering

A fitted slipcover, a new set of cushion covers, or reupholstering just the seat of a chair, rather than the entire piece, can refresh worn fabric without the cost and complexity of a full reupholstering job.
Swap the Hardware
New knobs, pulls, or hinges on a dresser or cabinet piece are a fast, low-cost way to modernize the look of an otherwise solid piece of furniture, and this step alone sometimes makes repainting unnecessary.
Fix Structural Issues Before Cosmetic Ones
A wobbly leg or a loose joint should be addressed with wood glue and clamps, or replacement hardware, before investing time in paint or finish, since cosmetic work on a structurally unstable piece will not hold up to normal use.
Troubleshooting Common Refinishing Problems
If new paint is not adhering well, bubbling or peeling shortly after application, the most likely cause is insufficient surface preparation, either a glossy original finish that was not sanded enough to give the primer something to grip, or leftover wax or polish that was not fully cleaned off beforehand. Stripping a stubborn old finish, particularly on furniture with multiple past coats of paint or varnish, generally goes faster with a chemical stripper designed for the specific finish type rather than sanding alone, which can take considerably longer and risks damaging the wood underneath if done too aggressively.
Stuck drawers or cabinet doors on an older piece are often caused by swollen wood from humidity, warped hardware alignment, or simply layers of old paint built up along the edges. Lightly sanding the sticking edges, rather than forcing the drawer, usually resolves the issue without needing to remove and rebuild the joint itself.
Choosing Paint Sheen and Type for Furniture

Furniture generally holds up best with a satin or semi-gloss sheen rather than a flat matte finish, since the added sheen provides more resistance to scuffs and everyday wear than a matte finish, which shows marks more readily. Chalk-style paints have become popular for furniture specifically because they require minimal sanding and adhere well to many surfaces without extensive prep, though they typically need a topcoat, wax or a clear sealer, to hold up to regular use over time.
Being Realistic About Results
A refreshed piece of furniture, even done well, will generally show some evidence of being a refinished rather than a factory-new piece, a slightly visible brush texture, a joint line where new and old finish meet. Approaching the project with this expectation in mind, rather than aiming for an indistinguishable-from-new result, leads to a more satisfying outcome than chasing a standard that hand-finishing at home rarely achieves without professional spray equipment.
Deciding What Is Worth Refinishing
Solid wood furniture, particularly older pieces built before manufacturers commonly used particleboard or veneer over lower-quality wood, is generally worth the time investment to refinish, since the underlying material quality often exceeds what is available in budget new furniture today. A piece with significant structural damage, cracked wood, missing structural components, extensive water damage, may cost more in time and materials to fully restore than it would to replace, which is worth honestly assessing before committing a full weekend to the project.
Working With Hardware and Small Details
Old hardware often cleans up better than expected with a simple soak in warm soapy water and a soft brush to remove years of grime, sometimes revealing that a dated-looking piece was actually in good condition underneath. For hardware too worn or dated to salvage, tracing the existing screw hole spacing before shopping for replacements avoids the common frustration of new hardware that does not align with the existing holes.
Extending the Project to a Full Set of Furniture

Once a single piece has been successfully refreshed, applying the same technique to a small group of related furniture, a set of dining chairs or a bedroom set, creates a more cohesive look throughout a room than refreshing pieces individually over a longer, disconnected timeline. Working through a matched set is also more efficient in practice, since the surface prep and paint mixing steps can be done once for the whole batch rather than repeated separately for each piece.
Prepping Old Furniture So the Finish Actually Lasts
The step that separates a furniture refresh that looks great for years from one that starts chipping and peeling within months is almost always preparation, not the paint or stain itself. Old furniture, especially anything more than a few decades old, often has multiple layers of finish already on it, and painting or staining directly over a glossy existing finish without proper prep gives the new coat nothing to grip onto. A light sanding across the entire surface, enough to dull the sheen rather than strip it completely, creates the texture new finish needs to bond properly, and skipping this step is the single most common reason a furniture refresh project fails within the first year. Cleaning the surface thoroughly afterward to remove sanding dust and any built-up grease or wax, particularly around handles and edges where hands touch most often, matters just as much as the sanding itself.
Older furniture sometimes hides another complication worth checking before starting: pieces made before the late 1970s may have been finished with lead-based paint, and sanding that surface without knowing this can release harmful dust into the air. A simple lead test kit, available at most hardware stores, takes only a few minutes to use and removes the guesswork. If a test comes back positive, wet sanding methods or professional stripping services designed to contain the dust are the safer path forward rather than dry sanding by hand. This extra step takes little time but protects against a health risk that a beginner refinishing project might not otherwise consider.
Choosing the Right Finish for the Piece and Its Use
Not every piece of furniture calls for the same type of finish, and matching the finish to how a piece will actually be used prevents both wasted effort and premature wear. A dining table that gets used daily and exposed to spills, hot dishes, and constant handling needs a more durable, protective finish, such as polyurethane over paint or a hardwearing stain, compared to a decorative accent piece like a side table that sees minimal daily contact and can reasonably use a more delicate finish like chalk paint or an unsealed natural wax. Choosing a decorative finish for a heavily used piece often leads to disappointment within months as the surface shows wear, scratches, or water rings that a more durable finish would have resisted.
Testing a finish on an inconspicuous area, such as the underside of a tabletop or the back of a drawer, before committing to the entire piece reveals how a particular wood or existing finish will react, since the same paint or stain color can look noticeably different depending on the underlying wood grain and any residual old finish that was not fully removed during prep. This test step takes only a few minutes but prevents the frustrating experience of finishing an entire piece only to discover the color or texture does not look the way it appeared on a paint chip or a sample photo online, which is one of the more common sources of disappointment in beginner furniture refresh projects.
Related Reading
- How to Build a Simple Floating Shelf in an Afternoon
- Beginner-Friendly DIY Projects That Don’t Require Special Tools
- A Simple DIY Accent Wall Project for Beginners
- Command Strip Hacks Gone Viral: What Actually Holds Up for Renters
- How Much Does a Weekend Home Improvement Project Actually Cost?
- DIY Epoxy Countertops: What the Viral Trend Does Not Show You
Frequently Asked Questions
How long does a typical furniture refresh take from start to finish? A straightforward paint refresh on a small to medium piece, a dresser or a side table, is generally achievable in a single weekend including drying time, while stripping and refinishing a larger piece with an intricate original finish can take considerably longer.
Is it necessary to remove all old finish before repainting? Not always. If the old finish is sound, not peeling or flaking, a thorough cleaning and light sanding to rough up the surface is often sufficient prep for new paint without needing a full strip.
What is the most common reason a furniture refresh project gets abandoned partway through? Underestimating the time needed for proper drying between coats, and rushing forward before a coat has fully cured, is one of the most common reasons results disappoint, prompting some people to give up before reaching the finished, cured result.
Worth Saving, Worth the Weekend
A single weekend spent refreshing a piece of furniture, rather than replacing it, often produces a result that feels more personal and unique than something bought new, in addition to being considerably less expensive.










1 Comment