

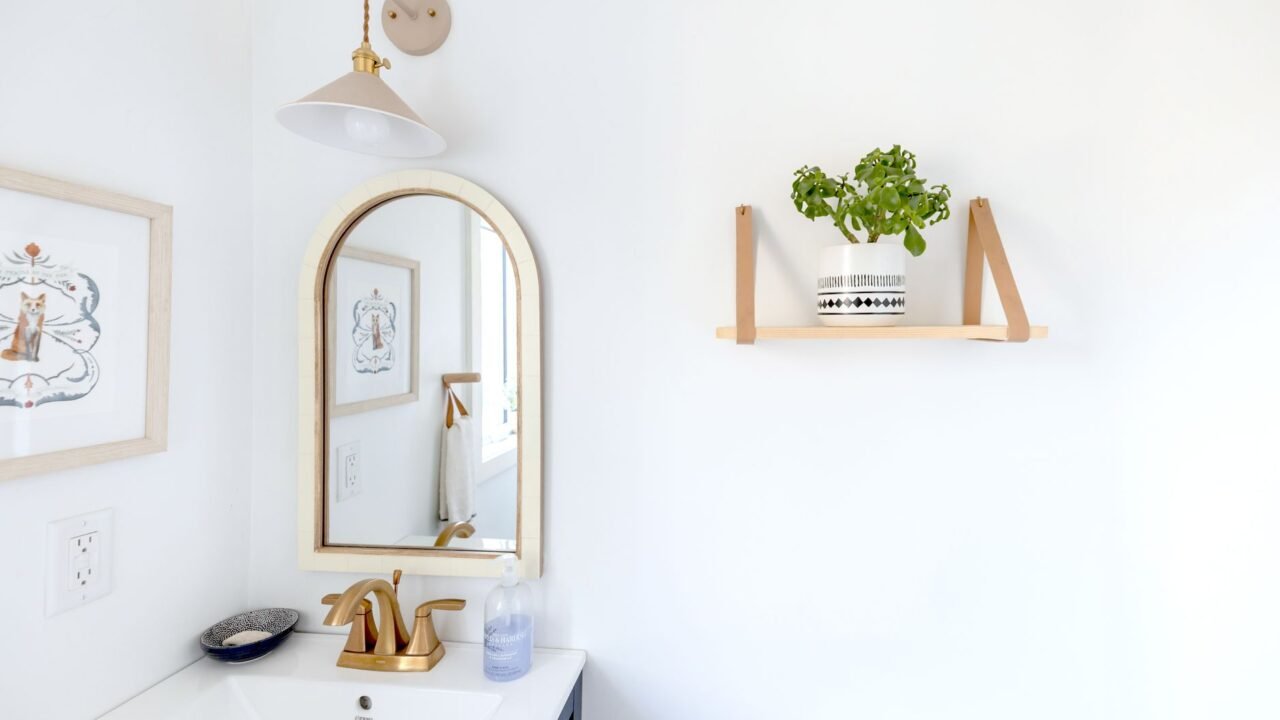
A floating shelf is one of the most approachable carpentry projects for someone with little to no woodworking experience, and it adds both storage and display space in a single afternoon of work.
What You Will Need
- A length of solid wood or a pre-made shelf board, cut to the desired width
- A concealed floating shelf bracket kit, sized to the shelf’s length and expected load
- A stud finder
- A level
- A drill with the appropriate drill and driver bits
- Wood filler and sandpaper if finishing the wood yourself
- How Much Does a Weekend Home Improvement Project Actually Cost?
Choose the Right Location
Locate wall studs using a stud finder before deciding on the exact placement, since a shelf anchored into studs holds significantly more weight than one relying only on drywall anchors. If studs do not line up conveniently with the desired spot, heavy-duty drywall anchors rated for the expected load are a reasonable alternative for lighter shelves.
Mark and Level the Bracket
Hold the bracket against the wall at the intended height and mark the mounting holes, using a level to confirm the bracket is perfectly horizontal before drilling. A bracket installed even slightly out of level becomes obvious once the shelf is loaded with anything.
Drill and Mount the Bracket

Drill pilot holes at the marked points and secure the bracket firmly to the wall, following the specific hardware instructions for the chosen bracket kit, since mounting requirements vary between products and wall types.
Prepare the Shelf Board
If using raw lumber, sand the edges smooth and apply a finish, stain, or paint before mounting, since it is much easier to finish a board on a workbench than after it is already installed on the wall.
Slide the Shelf Into Place
Most floating shelf brackets are designed so the board slides directly onto pre-installed rods or a bracket plate. Check for a snug, level fit and confirm the shelf does not wobble before adding any weight.
Style and Load the Shelf Thoughtfully
Even a well-installed floating shelf has a weight limit, so it is worth checking the bracket kit’s rated capacity before loading it with heavy books or decor. For styling ideas once the shelf is in place, see our guide to simple styling tricks for shelves that look curated.
Troubleshooting Common Installation Problems

If a shelf wobbles slightly after installation, the most likely cause is a bracket that was not fully level or fully seated before the final tightening; removing the shelf, confirming the bracket itself is secure and level, and reseating the shelf usually resolves this. If the intended location does not line up with wall studs, heavy-duty toggle bolts or a specialized drywall anchor rated for the shelf’s expected load are a reasonable substitute, though the maximum safe load will generally be lower than a stud-anchored installation, so keeping actual usage lighter than the shelf’s stated capacity in this scenario is a sensible precaution.
For walls made of plaster over lath rather than drywall, common in older homes, standard drywall anchors often do not grip reliably, and specialized plaster anchors or locating studs becomes even more important than in newer construction. Brick or masonry walls require a completely different approach, masonry anchors and a hammer drill with a masonry bit, which is a more involved project worth researching specifically before attempting on this type of wall.
Weight Capacity Math in More Detail
A floating shelf bracket’s stated weight rating typically assumes evenly distributed weight across the shelf’s full length, and concentrating heavy items at the unsupported outer edge of a shelf reduces its effective, safe capacity compared to the same total weight spread evenly. As a rough rule, keeping the heaviest items closer to the wall-mounted end of the shelf, rather than at the far outer edge, adds a meaningful safety margin beyond simply staying under the total rated weight.
Variations in Shelf Material and Finish
Beyond basic painted or stained wood, floating shelves can be built from butcher block for a warmer, more substantial look, from MDF with a veneer for a lower-cost option that still takes paint well, or even from a reclaimed wood board for a more rustic, one-of-a-kind result. Each material has a different weight before anything is even placed on it, which is worth factoring into the bracket’s weight rating, since a heavy butcher block shelf itself consumes some of the bracket’s total rated capacity before any books or decor are added.
Combining Multiple Floating Shelves
Once a single shelf feels manageable, a common next step is installing two or three shelves as a grouped set, typically spaced anywhere from eight to twelve inches apart depending on what will be displayed. Using a long level and measuring consistently from the floor or ceiling, rather than measuring gaps shelf to shelf, prevents small measurement errors from compounding across multiple shelves, which is a common issue when each shelf is measured relative to the one before it.
Matching a Shelf to Its Intended Use

A shelf meant to hold books needs a sturdier bracket and shallower depth is often fine, since books stack efficiently in a narrow footprint, while a shelf meant for larger decorative objects or a small plant benefits from a deeper board and a bracket rated for a higher load. Thinking through the specific intended use before purchasing a bracket kit, rather than choosing based on appearance alone, avoids the disappointment of a shelf that looks right but cannot safely hold what it was meant for.
Choosing Hardware That Will Actually Hold the Weight
The single most common reason a floating shelf fails is not a mistake in the woodworking, it is a mismatch between the mounting hardware and what the wall behind it can actually support. A shelf mounted into drywall alone, without hitting a stud, has a very low weight limit no matter how sturdy the shelf itself looks, and standard drywall anchors rated for a picture frame are not the same as the heavier-duty toggle bolts or metal stud anchors needed for a shelf meant to hold books or decor. The safest approach is to locate at least one, ideally two, wall studs using a stud finder and anchor the mounting bracket directly into them, since a connection into solid wood framing can hold far more weight than any drywall anchor regardless of how expensive that anchor claims to be.
When studs do not line up conveniently with the desired shelf placement, heavy-duty toggle anchors rated for the estimated combined weight of the shelf and everything planned to sit on it are the next best option, but it is worth checking the manufacturer weight rating and then reducing planned load by a comfortable margin rather than loading right up to the stated limit. It also helps to consider the material being hung on the wall itself; plaster walls in older homes behave differently than modern drywall and often need specialized anchors, so a quick check of wall type before buying hardware saves a return trip to the hardware store partway through the project.
Getting a Clean, Professional-Looking Finish
The visual difference between a floating shelf that looks store-bought and one that clearly reads as a first DIY attempt often comes down to a handful of finishing details rather than the core construction. Sanding progressively through finer grits, rather than stopping at a single coarse grit, removes the small scratches and rough patches that would otherwise show through paint or stain once the finish is applied, and this step is worth the extra time even though it can feel tedious compared to the more satisfying cutting and assembly steps. Filling any visible screw holes or wood gaps with wood filler before sanding the final surface, then allowing it to dry completely before painting, prevents the slightly sunken or uneven look that comes from painting directly over unfilled imperfections.
Applying finish in thin, even coats rather than one thick coat also makes a significant difference in the final appearance, since a thick coat is prone to drips, uneven drying, and a longer overall cure time before the shelf is ready for use. Two or three thin coats, each fully dried and lightly sanded between applications, produces a noticeably smoother and more durable final finish than a single heavy coat applied in a rush to finish the project in one sitting. Taking the extra time across a couple of days for proper drying between coats is one of the simplest ways to elevate a beginner project to a result that looks considerably more polished.
Related Reading
- Beginner-Friendly DIY Projects That Don’t Require Special Tools
- How to Refresh Old Furniture With a Weekend DIY Project
- A Simple DIY Accent Wall Project for Beginners
- Command Strip Hacks Gone Viral: What Actually Holds Up for Renters
- DIY Epoxy Countertops: What the Viral Trend Does Not Show You
Frequently Asked Questions
How long does the adhesive or hardware need to cure before loading the shelf? This varies by product, but many bracket systems are rated to hold weight immediately once properly installed, since the connection relies on the hardware itself rather than an adhesive bond. Checking the specific product’s instructions is worth doing before assuming either way.
Can a floating shelf be removed without damaging the wall? Removing the shelf and unscrewing the bracket typically leaves screw holes similar in size to any other wall-mounted hardware, which are easy to patch with spackle and touch-up paint, making this a relatively low-commitment project even for a renter with permission to patch minor holes at move-out.
What is a reasonable first shelf size for a beginner? A shelf in the 24 to 36 inch range is generally easier to level and mount accurately than a very long shelf, making it a reasonable starting size before attempting a longer or more complex multi-shelf installation.
A Manageable First Carpentry Project
A single floating shelf, done carefully, is a good confidence-building project before moving on to something more involved. The core skills, finding studs, leveling, and mounting hardware securely, transfer directly to many other home projects.










1 Comment